This is a fresh salad with clean and bright flavours. For the best flavour, let the salad stand at room temperature for 15 minutes before serving.


It’s halfway through October, and the dust of a new school year is starting to settle. As parents, we’re busy adjusting our schedules with an influx of homework, sports, and extracurricular activities. Trying to manage it all can be stressful, and meal-planning is just one more thing to worry about.
It’s a magic machine. Once I learned how to make Vitamix bolognaise sauce, pastas were healthier and meal prep twice as fast.

There are many things one can do with a Vitamix, but I didn’t grasp the true beauty of my new must-have kitchen appliance until I made bolognaise sauce, and then homemade ‘Vitamix crepes’ in this magical machine.
This beach-ready buttermilk fried chicken was fun to make and completely delicious.
After eating these at a baby shower, I dubbed them the world’s best crabcakes. I quickly pulled out my cell phone to write down the ingredients as the baby’s grandmother named ingredients. I had to figure out the recipe myself……

I grew up in Nova Scotia and spent years in Toronto before ending up in Vancouver. You don’t see the regional differences until you move further and further west. Victorian houses morph into open-concept spaces laden with glass and metal. My sense of tradition is challenged. I learned that there was more than one way to make a tea biscuit or ‘traditional’ tourtiere. Also, manners in the west are more laissez-faire. People are wearing yoga pants to the theatre, and an affirmative RSVP seemed to indicate that people ‘might’ attend a dinner party. Regional differences aside, I really take pride in knowing how to host a beautiful dinner party.
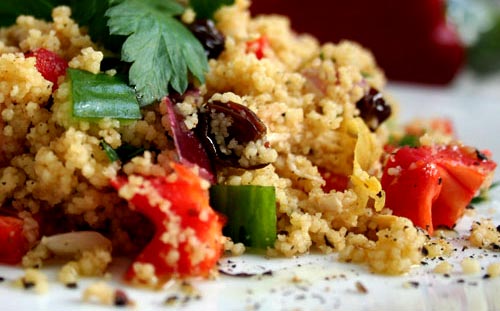 This Moroccan Chicken Couscous is perfect for a school lunch. Served hot or cold, my kids adore every bite.
50g pine nuts (leave out if your school has nut allergies)
500g chicken breast or thigh fillet, cut into 2cm dice
1/4 cup flour, seasoned with salt and pepper
3 tbsp olive oil
2 onions, sliced
1 tsp ground cinnamon
1 tsp ground cumin
1 tsp ground mild paprika
1 tsp ground coriander
1/4 cup sultanas
1 cup (250mL) chicken stock
1/4 cup chopped fresh coriander or flat-leaf parsley
1 lemon, juiced
2 cups couscous
2 cups water or chicken stock
1/4 cup diced tomatoes
thick natural yoghurt, to serve
- Heat a large non-stick pan over medium-high heat. Add pine nuts, stirring constantly until just starting to colour. Transfer pine nuts to a plate.
- Place seasoned flour in a large bowl, add chicken and toss to coat. Add one tbsp of oil to the frypan, increase heat to high and cook half the chicken until golden. Transfer cooked chicken to a plate. Repeat with another tbsp of oil and remaining chicken.
- Heat remaining tbsp of oil in pan. Add onions, reduce heat to medium and cook, stirring frequently, for 10 minutes or until golden and softened. Add cooked chicken to frypan with spices, sultanas and one cup of stock. Bring to boil, then reduce heat to low and cook for 5-10 minutes until heated through and thickened. Just before serving, stir in pine nuts, coriander and lemon juice.
- To prepare couscous, bring 2 cups of stock or water to the boil in a small saucepan, stir in couscous and olive oil and turn off heat. Leave for 5 minutes, then use a fork to separate the couscous grains.
- Serve chicken with couscous and yoghurt.
Photo Credit: Irena Macri

One day they like mustard and the next, it’s only BBQ sauce.
And while one kid loves gnocci the other will only eat pasta.
Sandwiches with cheese are gross but macaroni and cheese is a favourite.
Smoothies aren’t real food, but when frozen into popsicles they are perfectly good sustenance.

 Dealing with fickle picky eaters can give moms and dads a bunch of extra grey hair, and at times it is hard to remember that fussy eating is a normal stage for kids when learning about themselves. Experts constantly weigh in on methods to ensure healthy eating and Jessica Seinfeld’s Deceptively Delicious cookbook about hiding healthy foods within meals sold millions of copies and Elizabeth Pantley’s No-Cry Picky Eater Solution is also a great resource that flies off the shelves. So you’re not alone if you’re a tad frustrated!
Personally, I’m a really (really) busy mom, and while sometimes I cook up a storm, I can’t always guarantee home cooking, nor can I ensure that the kids will eat their painstakingly prepared school lunches. (One with mustard and one with BBQ sauce). When they were babies I knew if they were eating too many carrots and squash because they’d have an orange hue to their skin. Now, I have no idea if their calcium levels are adequate, their iron is ok and in Canada (especially on the East coast this year) I can pretty much guarantee that the kids have a vitamin D deficiency. Research shows that up to 85% of people do not have adequate vitamin D levels and Vitamin D deficiency is at its peak after the winter season.
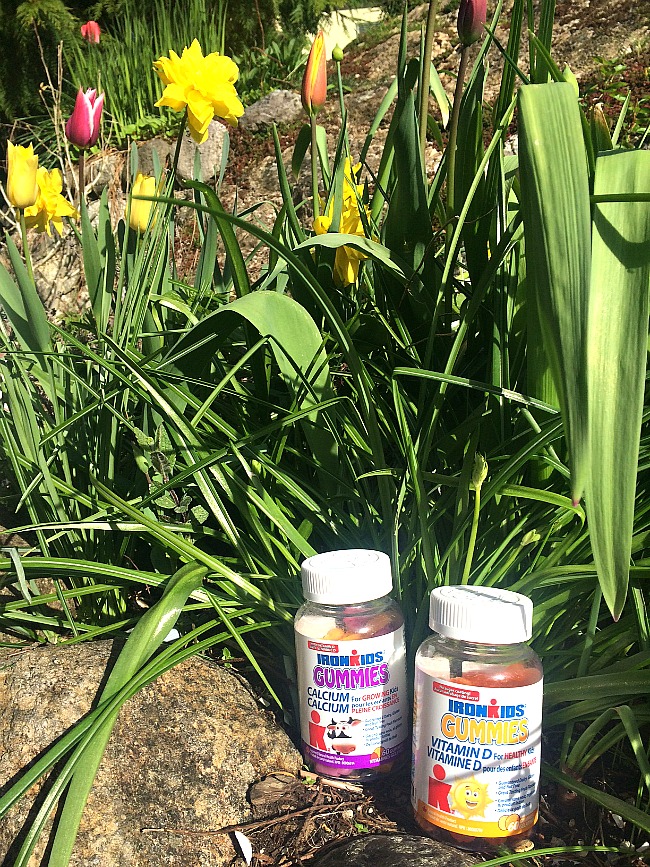
Our family has been taking Iron Kids and Adult Essentials gummies for a few months, and we are all loving it. With a wide selection of nut and gluten-free options, I give them a few per day based on what their diet has been like recently. The multivitamin is great, but usually I toss them a calcium as well. IronKids Calcium is also fortified with vitamin D to ensure that your kids can absorb and utilize the calcium they need for bones and teeth. Calcium intake can decrease significantly without daily intake of vitamin D
The boys won’t leave the house until they’ve had their vitamin treats, and they compare shapes and flavours with each other in delight. This begins my day knowing that I’ve covered the bases in case they forget to eat their lunch because the school soccer game is too distracting, and my stress level about their nutrition has been dramatically reduced.
We have a summer full of sailing, golf, soccer and tennis so the whole family needs all the nutrients we can get!
 You can learn lots more about nutrition and health on the Iron Kids website, and they also have a great bi-weekly newsletter!
Disclosure: I am part of the Life Science Nutritionals blogger program with Influence Central and I receive special perks as part of my affiliation with this group. The opinions on this blog are my own.
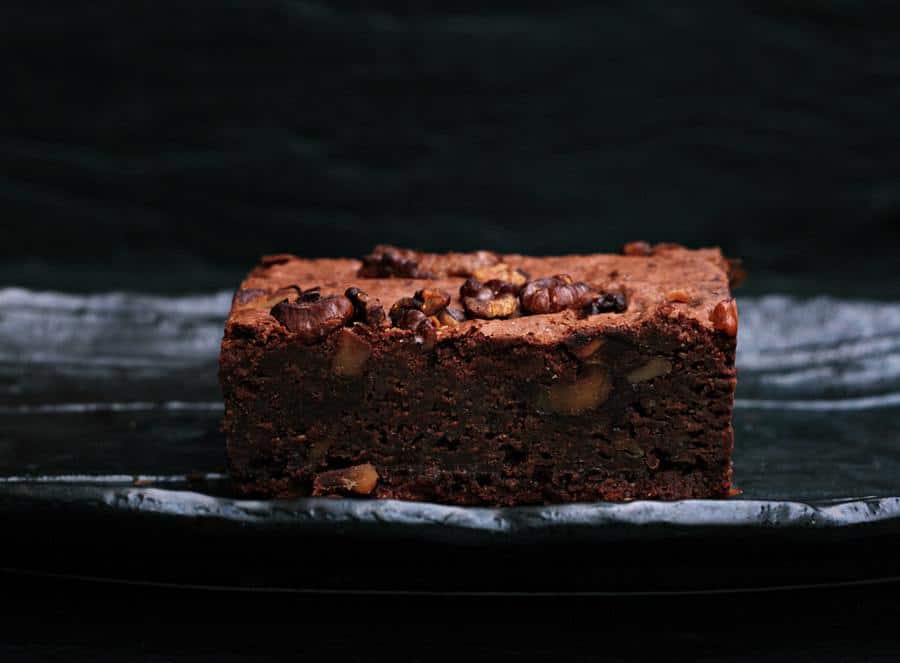
You’ll have no dessert guilt after indulging in these flourless sugar free chocolate brownies!
Ingredients:
· 1 (14 oz) can of
black beans, rinsed and drained
· 2 large eggs
· ½ cup cocoa powder
· ¾ cup Xyla
· ½ teaspoon oil
· 1 tablespoon milk
· 1 teaspoon balsamic vinegar
· ½ teaspoon baking powder
· ½ teaspoon baking soda
· ½ teaspoon of freshly ground coffee or instant coffee
· ½ cup semisweet chocolate chips (xylitol chocolate to make them completely sugar free, or omit chocolate and use all walnuts)
· ½ cup walnuts (or any nuts of your choice
Directions:
– Preheat the oven to 350° F. Line a 9 x 9-inch square baking pan with parchment paper, leaving a 2-inch overhang on all sides.
– Blend the black beans, eggs, cocoa powder, Xyla ® xylitol, oil, almond milk, balsamic, baking soda, baking powder and coffee in the blender until smooth and pour into a bowl. You can also do this all by hand if you don’t have a blender. Fold in chocolate chips and walnuts at the end. Pour the brownie batter into the prepared pan. You can also sprinkle some extra chocolate chips on top.
– Bake the brownies until a toothpick comes out clean, about 30 to 32 minutes. Allow the brownies to cool completely before slicing them into squares.