A friend once called gluten: ‘Glue-tin’ and I took a moment to pause. On the days you want some lighter fare, this gluten-free tortellini with fresh tomato herb sauce is just the thing.

It’s a magic machine. Once I learned how to make Vitamix bolognaise sauce, pastas were healthier and meal prep twice as fast.
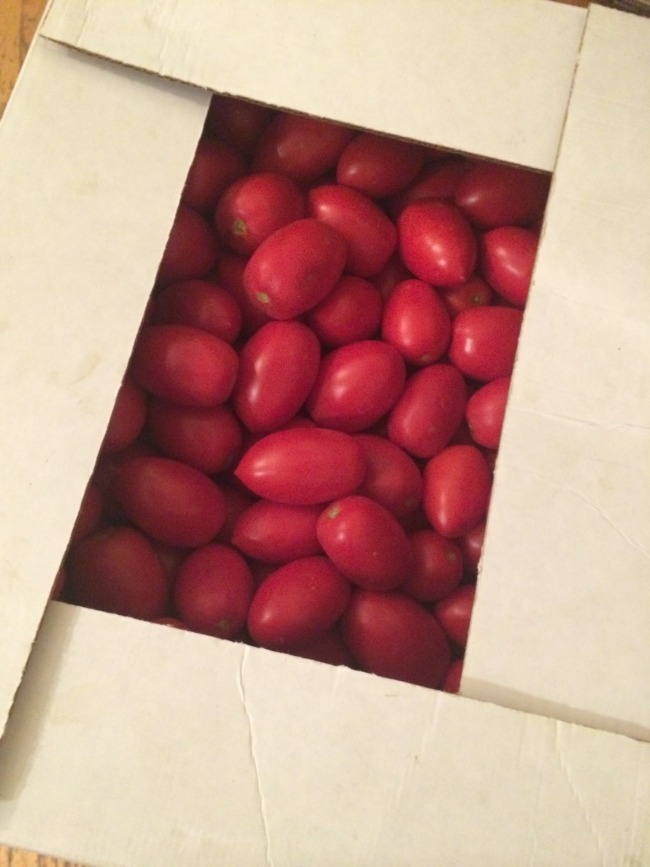
After my successful trip into British Columbia’s Okanagan region, I got the ‘bug’ to preserve and can all of the produce I possibly could. Because, well, zombie apocalypse. Or simple healthy organic food that doesn’t need refrigeration or freezing! The 90 pounds of roma tomatoes I purchased from Covert Farms yielded 16 1 litre jars of organic canned tomato sauce.
Organic Canned Tomato Sauce Ingredients:
35 to 46 lbs roma-style tomatoes
14 Tbsp bottled lemon juice
Salt
Sugar (optional)
Prepare the jars and lids:
Wash all jars and lids thoroughly with soap and water and rinse well. Fill your canner with enough water to cover the jars by at least 1 inch and bring to a simmer. Using a pair of canning tongs, lower the jars, lids and rings in gently. Boil for 4 minutes and remove with the tongs, placing them on a wooden cutting board.
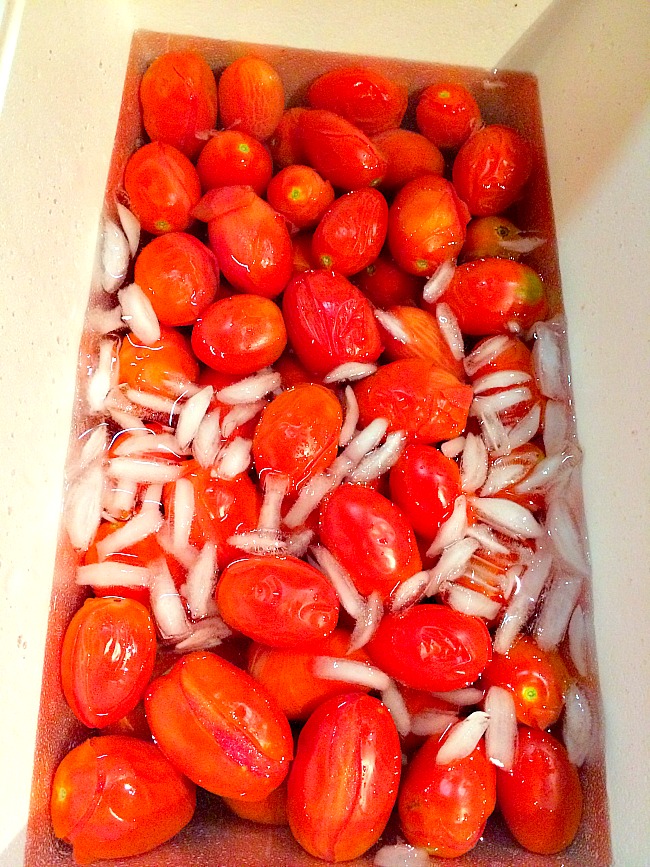
Peel and core the tomatoes:
Bring a large pot of water to a boil. Have a large cooler of ice water at the ready. Gently lower the tomatoes into the boiling water and blanch them for 60 seconds. Remove with a strainer and transfer them to the ice water. Once cool, the skins should peel off easily. I reached into the cooler with sleeves rolled up and did this job with my hands, easily removing both the cores and skins.
Prepare the sauce:
Coarsely chop the tomatoes and add them to a large stockpot. Place stockpot over medium-high heat, crushing and stirring the tomatoes to keep from burning. Continue until all the tomatoes are added and crushed. Bring the tomatoes to a boil, then reduce heat and keep at a low boil. Reduce to the desired thickness, by a third for a thin sauce, or by half for a thick sauce. For a fine, smooth sauce you can blend in a Vitamix in batches.
Fill and close the jars:
Add two tablespoons of bottled lemon juice and one teaspoon of salt to each jar; add a teaspoon of sugar to offset the added acidity if desired. Use a ladle to pour the sauce into the jars through a canning funnel, leaving 1/2-inch headspace at the top. Run a clean chopstick around the inside of the jar to dislodge any trapped air. Wipe the rims of the jars with a damp paper towel. Place the lids on, and screw on the rings until just finger-tight.
Seal the jars:
Using canning tongs, gently transfer the jars to the canner, taking care to keep them vertical. When all the jars are in the canner, there should be at least 1 inch water covering them; if you need more, add water from the kettle until the jars are sufficiently covered. Bring the water to a full rolling boil, and process for 40 minutes.
Remove and cool:
Using canning tongs, gently remove the jars from the canner and transfer them to a kitchen towel or cooling rack, again keeping them vertical. Do not set hot jars directly on to cool counter surfaces. Leave to cool, undisturbed, for at least 12 hours. If any of the jars do not seal when cool, reprocess using the method above, or refrigerate and use immediately.
Label and store:
Add a label to the lid or side of your jar, noting the date it was canned. Remove the rings and store jars in a cool, dark place for up to one year. Refrigerate after opening.
Nutrition is something we as parents have to take more seriously than we used to. Obesity and its wicked cousin, diabetes, are on the rise everywhere, and kids are the targets of all kinds of fast-food and convenience-foods marketing that tempts them with things that they don’t need. Snacks should be healthy, meaning low in fat and calories, filling, and have good nutrition. Sounds impossible, when you want them to taste good, too? Nay, my friend. There are tons of options out there! Here are just a few items you should always have on hand, because with them you can construct a legion of fun, flavorful and fully good-for-you treats!
Basic Ingredients (try to have on hand):
- Whole wheat tortillas, bread, English muffins, bagels (as bases)
- Fruit
- Low-fat cheeses (cheddar, mozzarella, gouda, edam, cream cheese)
- Cut-up and cleaned veggies (broccoli, cauliflower, carrots, celery, etc.)
- Granola
- Dry cereal
- Chocolate chips
- Raisins, Craisins, other dried fruit
- Nuts (unsalted and unsweetened, preferably)
- Tomato sauce
- Salsa
- Peanut butter
- Jelly
- Yogurt
- Low-sodium/fat lunch meats, like turkey and chicken breast
With these basic ingredients, you can assemble an amazing legion of simple, yummy and fun snacks, such as:
- Mini-Pizzas: Season tomato sauce with some Italian spices, drizzle on an English muffin, top with mozzarella. For fun, add veggies; toast. Very crunchy, tasty and filling!
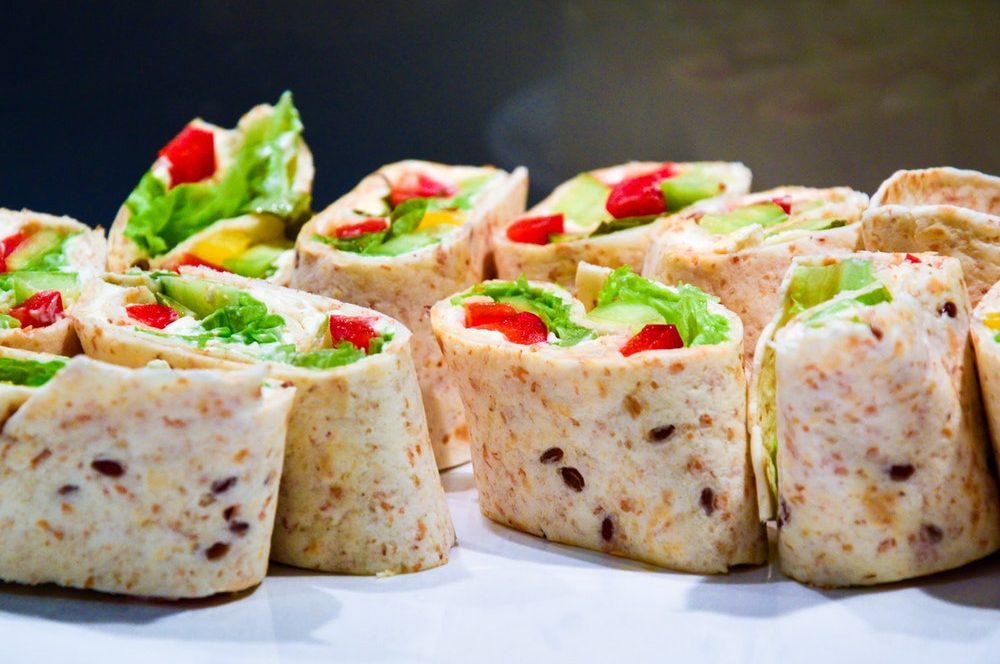
- Mexi-Pizzas: Drizzle a tortilla with salsa, mozzarella, and chopped veggies; toast. Ole!
- Fruity K-bobs: Cut fruit chunks and space them on a skewer with small pieces of cheese. Pear and apple with cheddar is awesome, and a great source of vitamins and calcium.
- Banana Bombs: Dip a banana in yogurt, roll it in crushed cereal or granola; freeze for 30 minutes to an hour. A chilly treat.
- Home-Made Lunchables: Cut up lunch meat and thinly-sliced cheese and serve with crackers, Lunchables-style.
- Ants on a log: Fill celery with peanut butter or cream cheese, then stud it with raisins or craisins. Kids love it.
- Faux Banana Split: Serve a banana with strawberry and vanilla yogurt, sprinkle with chocolate chips, in a “boat” like a banana split.
Other suggestions:
- Clear, low-sodium broth-based or tomato soup served with whole-wheat toast or crackers
- Half a turkey and veggie sandwich
- A bowl of mixed granola and dried cereal, with a few chocolate chips thrown in every now and then
- Peanut butter and jelly—try it as a sandwich or even as a yogurt smoothie!
- Veggies served with hummus or low-fat ranch or Italian dressing for dipping. Most vegetables are fat-soluble, so it’s best to accompany them with a little bit of fat for better nutrient absorption.
- Instant oatmeal
- Unsalted, unbuttered popcorn tossed with a little salt and parmesan cheese
- Peanut butter on crackers