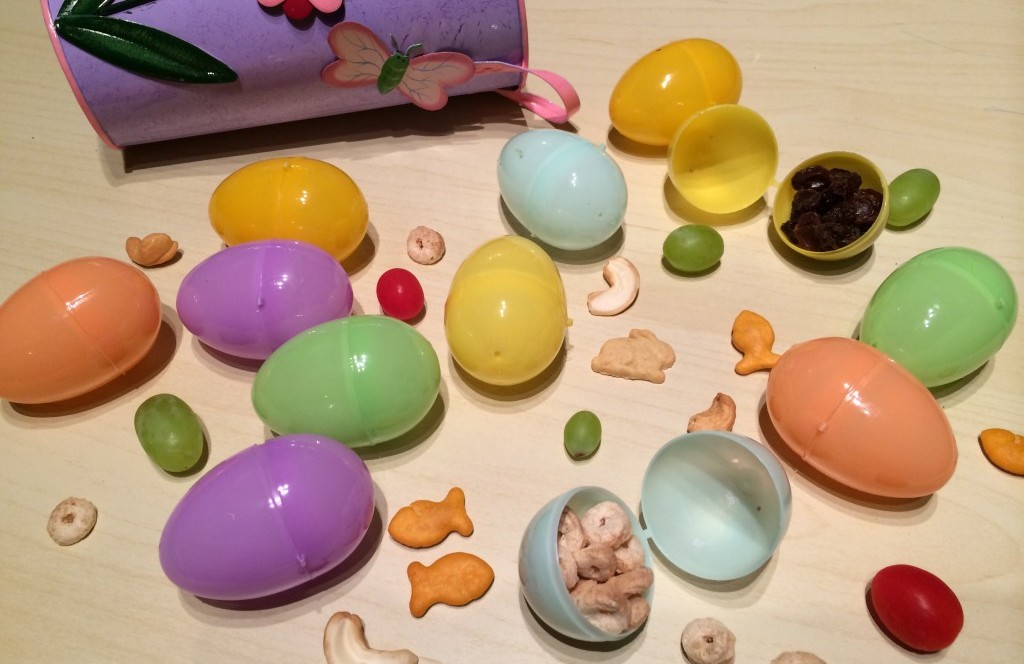
Just like my mama, I find joy in celebrating the holidays with some extra special little markers. Even though our family didn’t make pretend with the different characters of celebrations (ie. Santa, the Easter Bunny), we would always wake up to things hidden around the house on Easter for us to find. Who cared whether a egg-toting bunny left it or not, chocolate is chocolate, man.
Wow! Do kids ever grow up fast! Track how they grow in style with this simple and easy DIY barn board growth chart.
Growth Chart Skill Level:
FUN & EASY!
Time:
1 Hour
Materials:
- Barn Board (found at an antique dealer outside of town)
- Stencil (purchased from the dollar store. You can also get them from craft stores such as Michaels)
- White Paint (also from the dollar store)
- Saw
- Paint brush
- Pencil
Growth Chart Instructions:
- Using a saw cut the barnboard to desired length. I chose 6 1/2 feet
- Prep the wood for painting. Depending on how it was stored you may need to dust it off before bringing it in to the house. Mine was outside in the elements so I also gave it a few days in the sunshine to dry out.
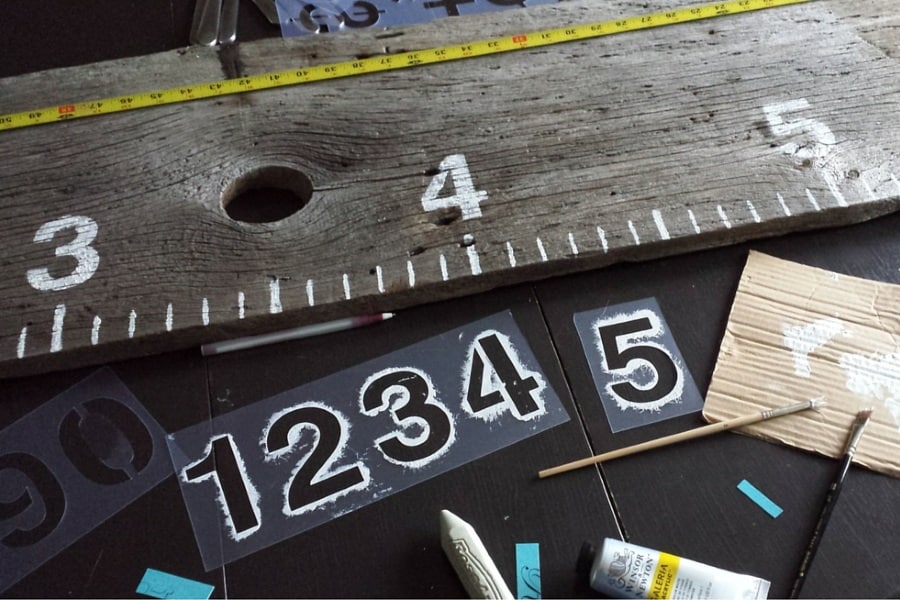
- Using the stencil, sketch out at least 1.5 full feet to scale of your growth chart to determine how you intend to draw out the measurements. I chose to use a longer thicker line to mark feet, a slightly shorter thicker line to mark each 1/2 foot and finally a think short line to mark each inch. It is up to you how you style it!
- Using a pencil lightly mark your measurements on the wood. My barnboard was quite soft so once I made a mark I was not able to erase. Instead I used knives, for no other reason except that it was handy, to mark out each foot. Make sure you consider how high the growth chart will be hanging. You will likely have a gap between the floor and the chart so make sure you start at the right height. I started 6 inches off the floor.
- Paint the ruler lines using the white paint. I made my own stencil on cardboard for this.
- Next using the stencils, paint on the numbers.
- Do as many coats as you think is necessary. This will depend on how much paint you put on for each coat and how opaque you want the numbering to be. I did 2 coats but I was quite liberal with the paint.
- That’s it! You’re done! Now hang!
Tips and Tricks:
- The hardest part of this whole project was finding the barn board. I ended up locating some through VarageSale. She even cut it for me to the dimension I wanted.
- Instead of barnboard you can purchase a plank from Home Depot . They will cut to length for you as well. To give it a bit of character you will need to distress it. Young House Love has a great post about “How to Make New Wood Look Old“.
- For selecting the best piece of barnboard I wanted something with a little character. I looked for knots and cracks and seams. But be careful. Too much character can make it difficult or impossible to paint your measurements and numbers. It also prevents you from tracking your children’s measurements too.
- Depending on how soft your wood is might determine where you hang your growth chart. Since mine was quite soft and easily marked I hung it a little out of the way.
- When tracking your children’s heights use a thick permanent marker. I tried a paint marker first and it didn’t paint onto the barn board at all.
While baking in our house is not reserved for special occasions, I do like to bake up special holiday treats, whether it be Thanksgiving, Christmas or Easter. Though St. Patrick’s Day is not necessarily a big celebration with us, it’s fun to spread a little Irish cheer and a good excuse to bake up something yummy. Plus, if green beer isn’t your bag, this perfectly moist pistachio cake will be totally up your alley.
When it comes to doing arts and crafts with my 4yo daughter, I aim for projects to be KISS-able: Keep It Simple, Sweetheart! With that in mind, I organized materials we had already and together we whipped up a handful of shamrock projects that were fun, fast, and can even be a little educational, too.
How are you feeling?” I ask my friend Christine. She sits next to me in the cozy dining room of The Pantry Vegetarian Tea Room in the Glebe. Her large belly presses up against the table as she leans forward.
“I’m doing great!” she says. “But I could do without the kidney stones!”
I had a million thoughts running through my head as I sat in the hospital waiting room. My husband was undergoing major heart surgery, and I was trying my best to stay strong. I knew that I had to; if I gave into my worries, I would be a mess. I think that the very thing that kept me going or that caused me to find strength was my kids. What you don’t realize is that your kids help you to find strength that you didn’t even know that you possessed.
My most despised chore used to be laundry. Mostly because, with three small kids, it was such a never ending story. The monotony of sorting, washing, folding and getting it all away just in time for it to be pulled out and dirtied again was super demoralizing. When our third baby was born we actually hired someone to come and do laundry everyday for a year. True story. It ate up all our disposable income, but I still refer to that year fondly as my “laundry holiday.”
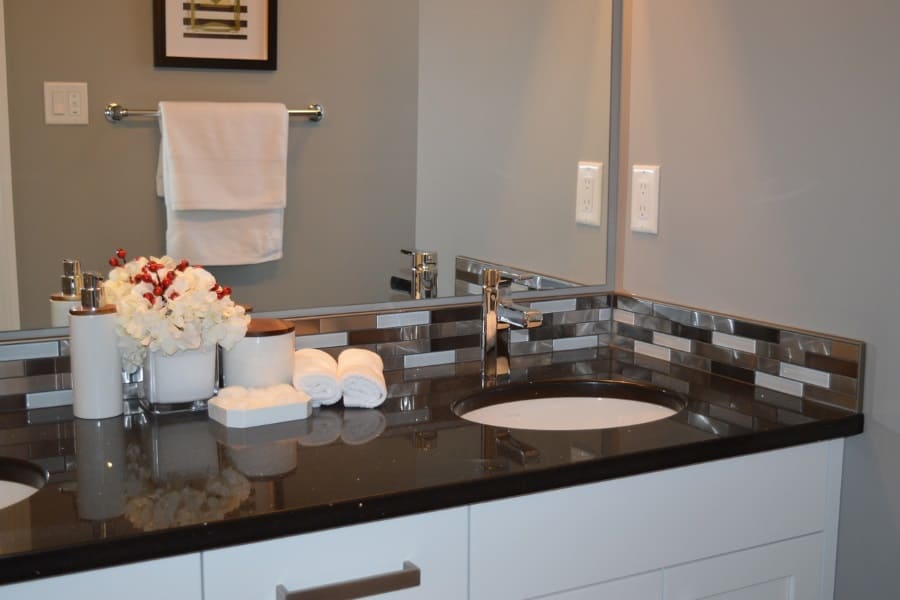
I know I’m not the only mom who dreams of long soaks in a beautiful spa shower or of spending a quiet evening reading a great book in a whirlpool bath. Of course, when you have young children like I do, the reality is bathroom time is (at best) fast and functional. All the more reason to create a space that is inviting, and maybe even inspiring. Whether you’re in desperate need of more storage, hope to streamline your space, or you’ve simply grown tired of the decor you currently have, you can completely transform your bathroom next weekend.
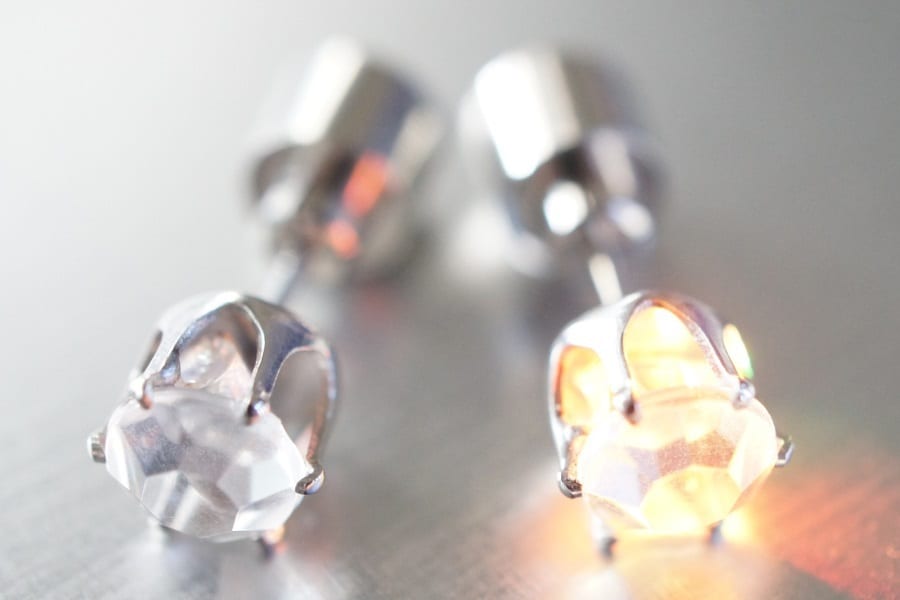
“Want to have your ears pierced?” I asked Elsa, my newly turned five-year-old. Her eyes grew wide and she shook her head back and forth.
“No, mommy! It’ll hurt. And it seems scary. No, thank you.”
We had discussed having her ears pierced several times. Every time she said the same thing, she was too scared. Every time, I felt a tiny twinge of sadness. I couldn’t wait to buy her earrings, to share my love of jewelry with my little girl.
I’m not sure when I turned into an “old woman.” I mean, I certainly don’t feel old. And really I’m not actually old, just “old” according to my 21-year-old-inner-self. Thanks to genetics, moisturizer and the religious use of sunglasses outdoors, I am more or less wrinkle-free in the face department which means people don’t usually believe me when I tell them I’m 41. 41! That sounds so old to me! Even though I know it’s not. And I don’t like the term “middle-age” either. THAT, makes me feel old.
